Quickstart with Docker
Deploy a complete UltimaScraper fleet in under five minutes.
UltimaScraper offers two straightforward Docker deployment paths: - Path A: All-in-One Compose (Standard) — Boots WebUI, API, workers, PostgreSQL, and Redis via Docker Compose. - Path B: WebUI-Driven Installer (Zero-Config) — Launches a lightweight WebUI container that automatically provisions and manages backends on this machine or remote hosts over SSH.
Path A: All-in-One Docker Compose
1. Clone Configuration & Generate Secrets
Clone the repository and prepare your deployment .env file:
You can automatically populate all cryptographic keys, admin bearer tokens, and store passwords using the bootstrap tool:
Or manually edit .env and set strong random passwords for POSTGRES_PASSWORD and REDIS_PASSWORD.
2. Pull and Start Services
Start all containers in detached mode:
3. Open WebUI & Create Administrator Password
- Navigate to
http://localhost:21120in your browser. - The initial browser connection on your local network will prompt you to create the WebUI administrator password.
[!NOTE] If accessing remotely through a reverse proxy or VPN, retrieve the single-use setup code from the container logs:
- Once your password is set, the Unified Setup Wizard opens automatically to finalize your backend configuration.
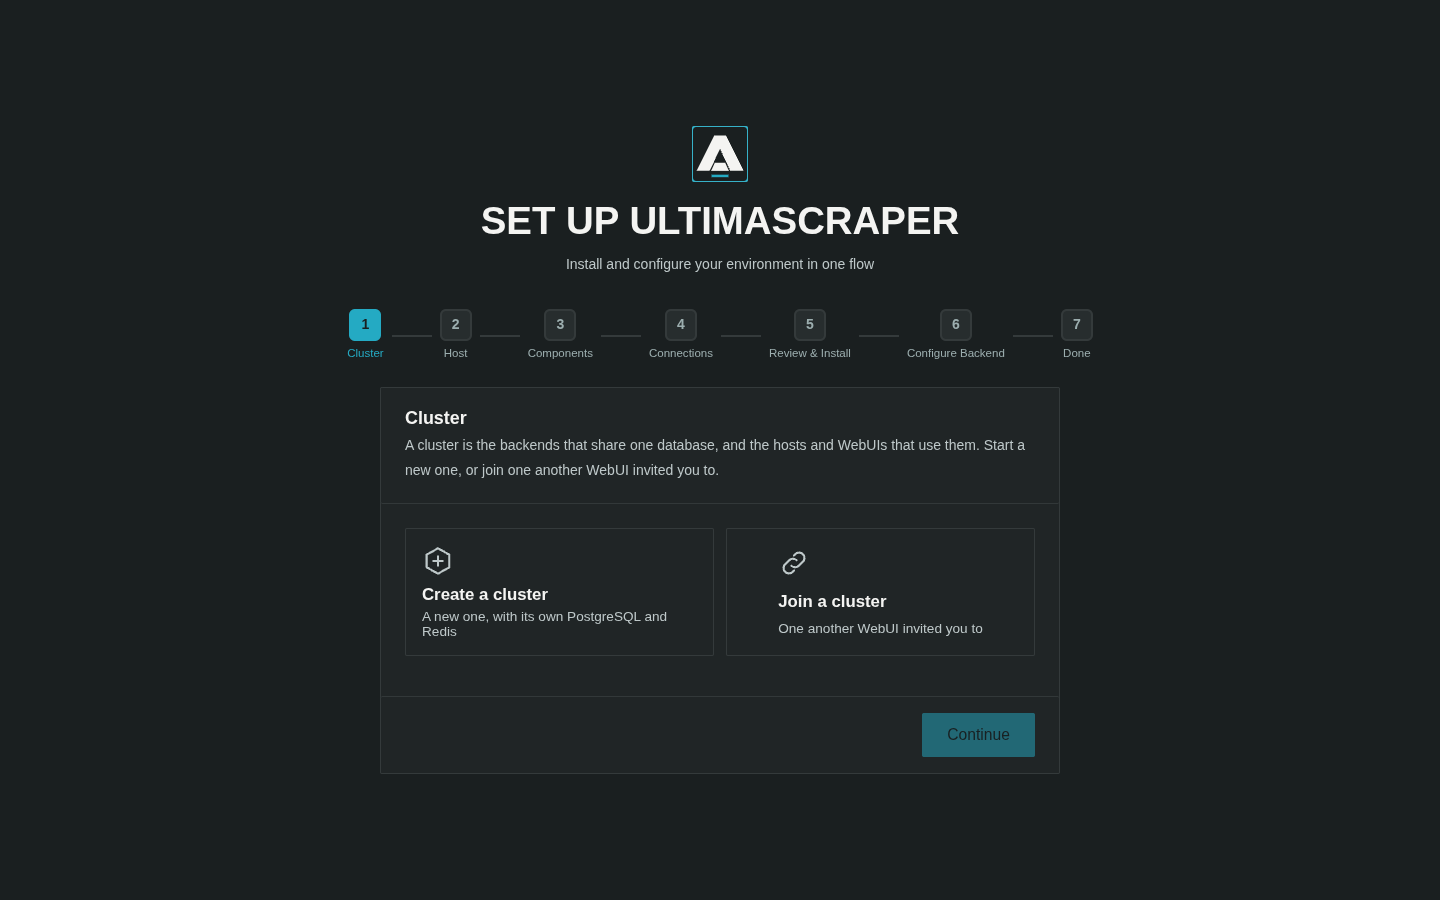
Path B: WebUI-Driven Installer (Browser Guided)
If you prefer to let the WebUI handle Docker provisioning, container lifecycle, and updates without touching Compose files manually:
1. Launch the Standalone WebUI Gateway
docker run -d \
  --name usr-webui \
  -p 21120:21120 \
  -v usr_webui:/data \
  --add-host host.docker.internal:host-gateway \
  ghcr.io/ultimahoarder/ultimascraper/webui:0.1.0
2. Complete the Unified Setup Wizard at /setup
Open http://localhost:21120, create your password, and the Unified Setup Wizard guides you through:
┌────────────────────────────────────────────────────────────────────────┐
│  Host  ──>  Components  ──>  Connections  ──>  Deploy  ──>  Configure  │
└────────────────────────────────────────────────────────────────────────┘
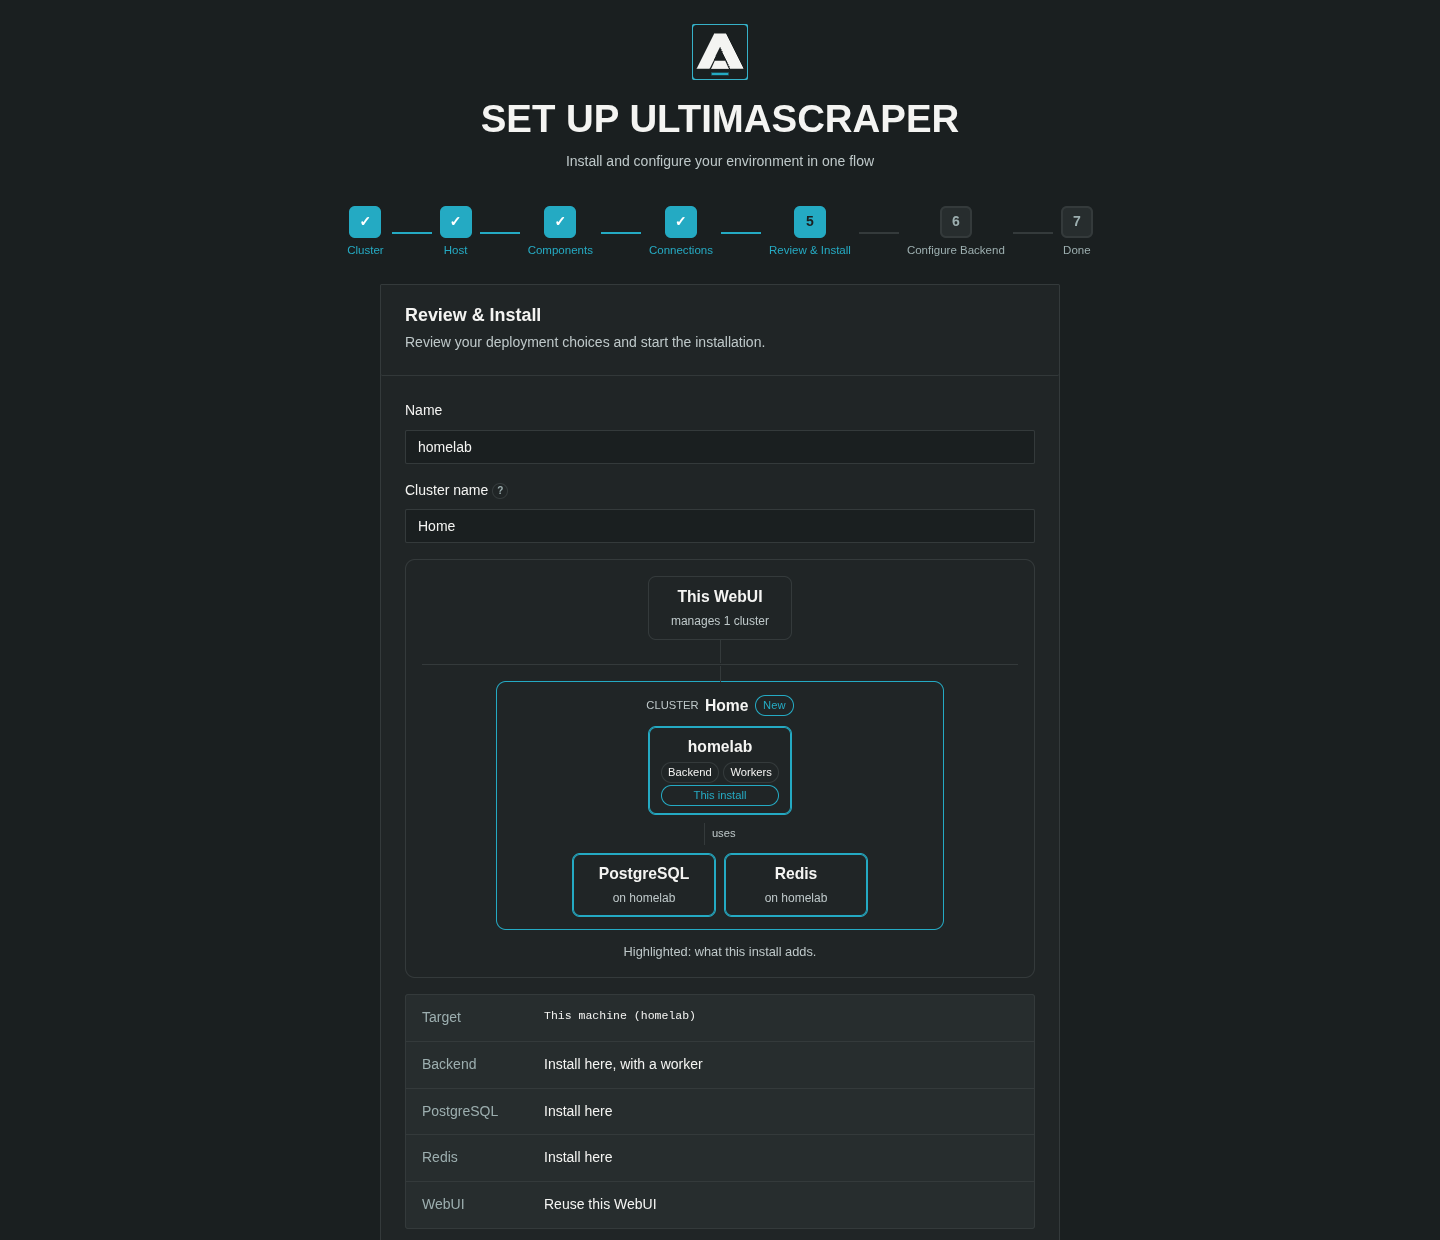
- Host Detection: Automatically probes Docker Engine version, CPU architecture (
amd64/arm64), sudo requirements, and checks if port5432(Postgres) or6379(Redis) are already listening. - Component Selection: Select what you want to run:
- Backend & Worker: Choose
install hereor distribute workers across separate nodes. - PostgreSQL & Redis: Choose
bundled container(isolated) orexisting(connect to an external database). An existing PostgreSQL must have pgvector installed; the bundled one already does. - Pre-flight Service Checks: If using external databases, the Check button tests live TCP reachability from the target host before any deployment proceeds.
- Deploy: Reviews selections, prompts for a sudo password only if required by system permissions, and streams installation logs in real time.
- Inline Backend Configuration:
- Storage & Paths: Choose directories for downloaded media, temporary buffers, and staging.
- DRM Configuration: Register Widevine Content Decryption Modules (CDM) for protected media playback/download.
- Site Authentications: Input login sessions for supported platforms (OnlyFans, Fansly, LoyalFans).
- Done: The wizard opens your ready-to-use backend at
/b/{connection_id}/.
Managing Your Deployments
After setup, manage all deployments directly in the WebUI: - Open Manage Backends in the header. - View real-time service health, repair stopped containers, trigger one-click image upgrades, or provision additional worker nodes across your network over SSH.
For in-depth details on component combinations and SSH provisioning, see the Setup Wizard & Installer Guide.